X509 Authentication to Red Hat JBoss Fuse with Keycloak
Introduction - preview of X.509 Authentication in RH-SSO
This page will outline the steps I took to enable client certificate authentication to Red Hat JBoss Fuse 6.3 via Keycloak. This is particularly useful for smartcard/token authentication; in my case I was testing with a Yubikey hosting a PIV applet. This feature will be in future releases of RH-SS0 (currently slated for 7.2), so here is a preview of things to come.
Environment
This exercise was all run locally on my laptop, and all references were set up for localhost.
- Keycloak 3.1.0.CR1
- Fuse 6.3.0 R1
- Fedora 25 with both Fuse and Keycloak installed
- Yubikey Neo with a X.509 certificate issued to the 9A (PIV auth) slot
- Firefox with opensc pkcs11 security module
- OpenSSL test CA - root and intermediate CA for issuing certs 1
Compile the latest keycloak
The X.509 auth functionality is pretty recent at the time of writing 2. I pulled the latest Keycloak source from github3 and created the 3.1.0.CR1 distribution. I created the distribution per the README and installed the distribution/server-dist/target/keycloak-3.1.0.CR1-SNAPSHOT.tar.gz to my /opt/rh/keycloak directory.
Configure Keycloak for Mutual SSL authentication
The as-yet unpublished keycloak docs have good instructions on how to set up the SSL and configure keycloak for the X509 authentication4. The Keycloak authenticator will expect a certificate is already present by the time that code is executing, so the Wildfly container needs to be configured to query the client for the certificate.
Copy any server keystores and truststores to the ${KEYCLOAK_HOME/standalone/configuration directory and edit ${KEYCLOAK_HOME}/standalone/configuration/standalone.xml. The truststore will need to trust certificates from the CA that issued the authentication certificate (the PIV auth cert in my case).
Add a security-realm to <security-realms> (customized keystore name and password):
<security-realm name="ssl-realm">
	<server-identities>
		<ssl>
			<keystore path="server.keystore" relative-to="jboss.server.config.dir" keystore-password="password" alias="server" key-password="password" />
		</ssl>
	</server-identities>
	<authentication>
		<truststore path="server.truststore" relative-to="jboss.server.config.dir" keystore-password="password" />
	</authentication>
</security-realm>
Add a https-listener to the <server name=”default-server”>:
<https-listener name="default-ssl" socket-binding="https" security-realm="ssl-realm" verify-client="REQUESTED" />
The keycloak server can now be started and accessed at https://localhost:8443. Create an admin user and log in to the administration console.
Install Red Hat JBoss Fuse 6.3
I unzipped the latest Fuse distribution and then followed the instructions at 5. The items that need to be configured as detailed in the instructions are:
- ${KARAF_HOME}/etc/system.properties6
- copy keycloak-hawtio.json and keycloak-hawtio-client.json to ${KARAF_HOME}/etc/
- Edit the keycloak files for the keycloak installation location, if necessary
The keycloak-hawtio.json was modified for my installation:
- Updated http to https
- I took a shortcut for this non-production poc and used a self-signed cert for SSL in keycloak. I took another shortcut and used disable-trust-manager = true so Fuse would trust the self-signed keycloak SSL cert. In any case, configurable attributes can be found at 7.
{
  "realm" : "demo",
  "resource" : "jaas",
  "bearer-only" : true,
  "auth-server-url" : "https://localhost:8443/auth",
  "ssl-required" : "all",
  "use-resource-role-mappings": false,
  "principal-attribute": "preferred_username",
  "disable-trust-manager": true
}
The keycloak-hawtio-client.json is what is sent to the end user/client and just needed the http changed to https:
{
  "realm" : "demo",
  "resource" : "hawtio-client",
  "auth-server-url" : "https://localhost:8443/auth",
  "ssl-required" : "external",
  "public-client" : true
}
The ${KARAF_HOME}/etc/system.properties is updated with the necessary hawtio configurations
hawtio.keycloakEnabled=true
hawtio.realm=keycloak
hawtio.keycloakClientConfig=${karaf.base}/etc/keycloak-hawtio-client.json
hawtio.rolePrincipalClasses=org.keycloak.adapters.jaas.RolePrincipal,org.apache.karaf.jaas.boot.principal.RolePrincipal
N.B. - the keycloakClientConfig requires file:// in later versions of keycloak
The Fuse service can now be started (e.g. ${KARAF_HOME}/bin/fuse). Finally, install the keycloak JAAS module and adapter.
JBossFuse:karaf@root> features:addurl mvn:org.keycloak/keycloak-osgi-features/3.0.0.CR1/xml/features
JBossFuse:karaf@root> features:install keycloak-jaas
Configure Keycloak flows and executions
Add a realm and import the demorealm.json from 8. This will set up some pre-configured users and roles (see the documentation on that page). Username password authentication can now be tested by opening a browser and navigating to http://localhost:8181 (the Fuse server was not configured for SSL for this non-production demo). The Keycloak authentication page should be displayed; log in with one of the demorealm.json users and ensure you are ultimately logged in to the Hawtio admin console.
The last piece is to configure Keycloak to prompt the user for a certificate instead of username/password. This is done by modifying the browser flow for the demo realm. This process, and the configuration of the X.509 execution, is in the keycloak docs. The next couple screenshots show my configuration for this test.
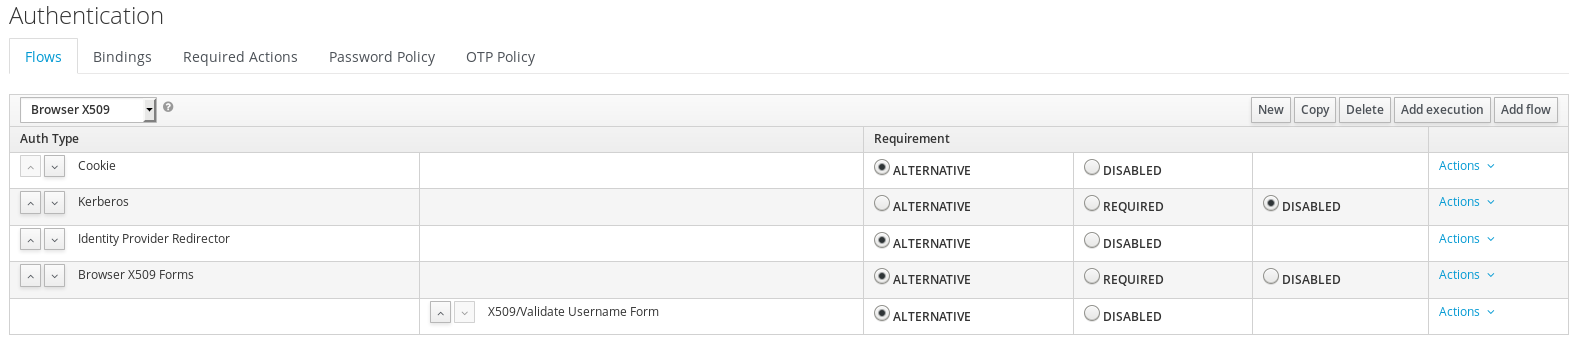 Copy the browser flow and edit for X.509 auth
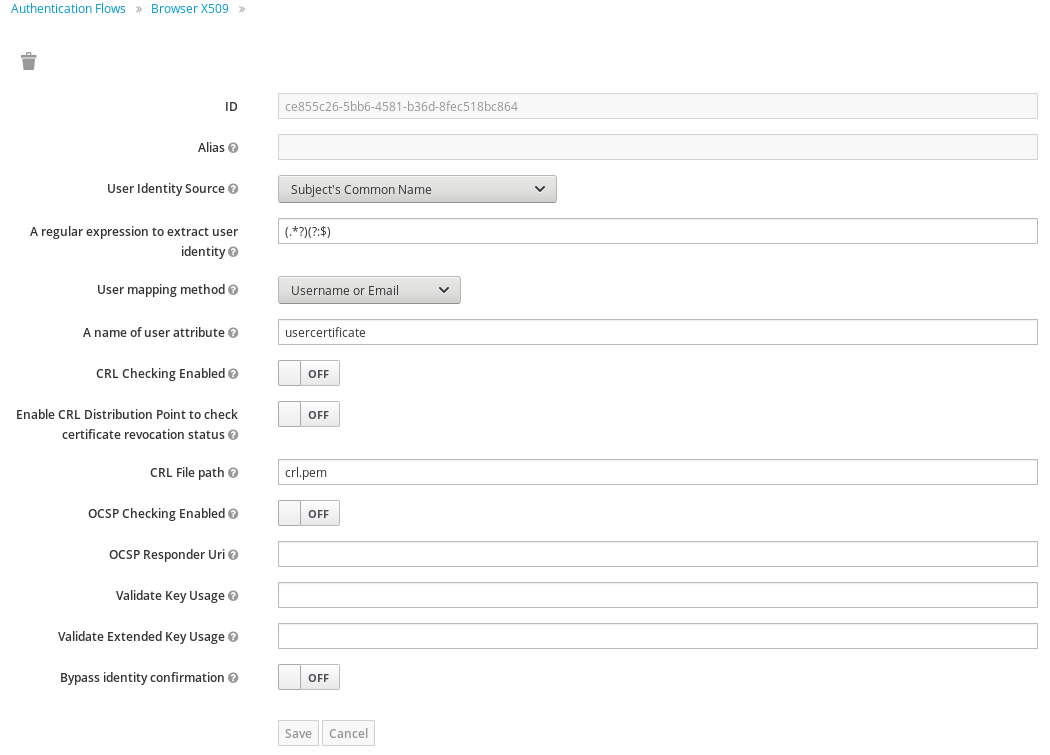 Configure the execution to map cert attributes to user. I chose to map the certificate CN to Keycloak username.
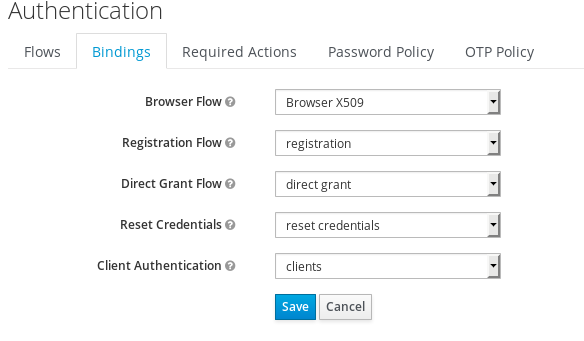 Change the browser binding to use the new X509 browser flow
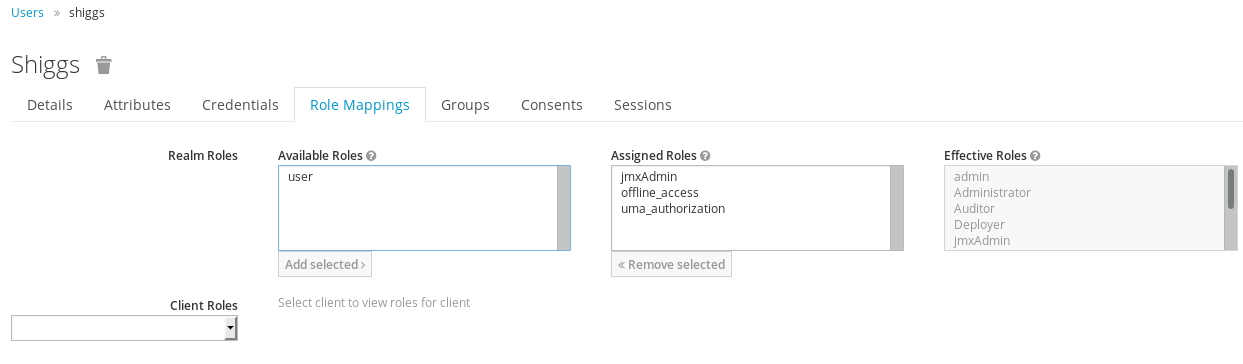 Configure a user with a username that matches the appropriate cert attribute.
Authentication Test
Let’s see if it all works! When authenticating to hawtio, the end user is redirected to the Keycloak login page. The user is asked to select a certificate, and then the user/cert confirmation page is displayed. Finally, the user is sent back to Fuse/Hawtio and is successfully authenticated with the right roles. Cool!
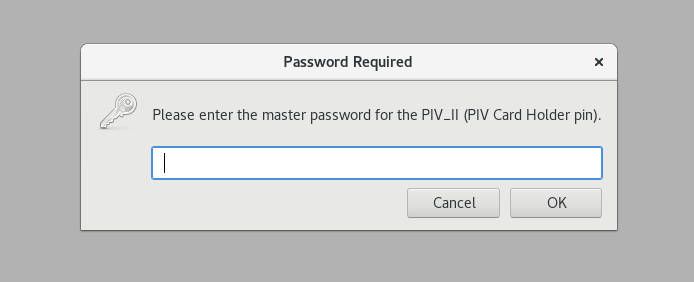 Browser prompts for token PIN
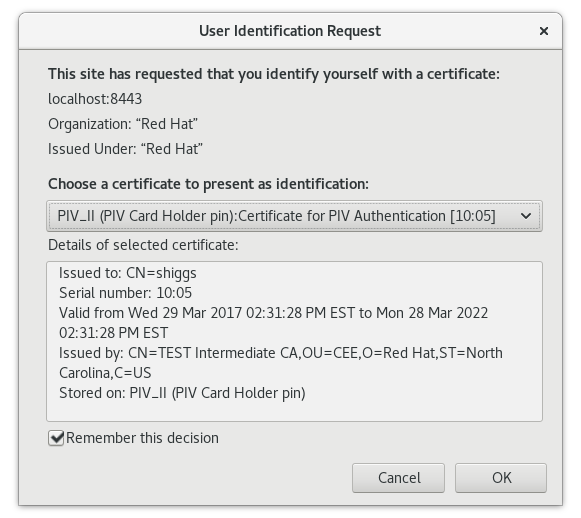 User selects the appropriate authentication cert
 Keycloak form confirmation page is displayed
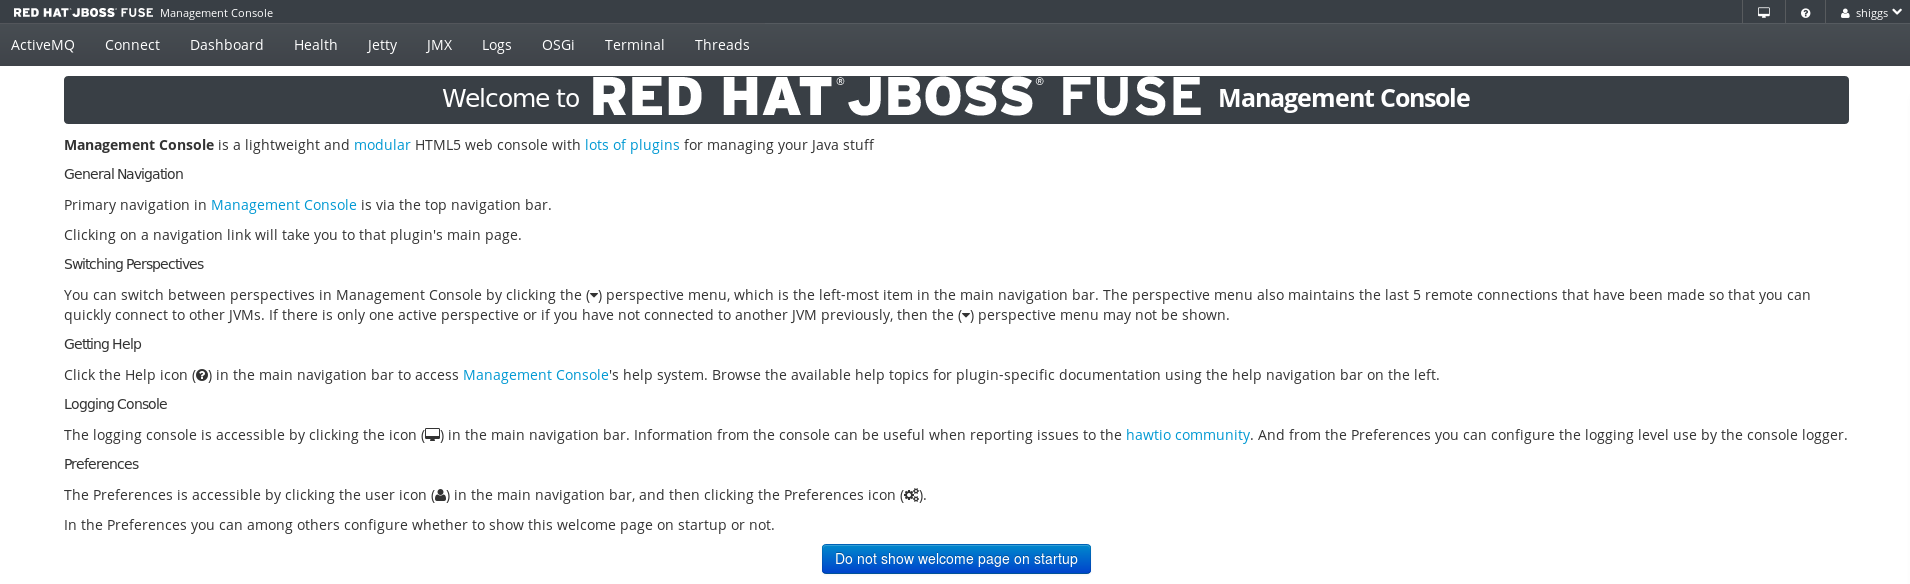 We are logged in with the user defined by the CN in the cert
Future tests
Items not tested in this demo:
- Test certs with invalid users
- Test “Bad” certificates
- Test OCSP
- LDAP integration
- Hawtio with Kerberos
More Keycloak integration with Fuse
A follow-up to this post can be found here